What to Do When Duck Eggs Don’t Hatch
If you are raising ducks or have stumbled across some eggs, you will need to understand the process for their hatching and provide an environment that is most conducive for a safe and successful hatch. When duck eggs don’t hatch you should also be aware of what to do with them to help the process and
What do you do when duck eggs don’t hatch? Hatching may not occur due to complications with the healthy bird being unable to break through the internal and external pips. If this occurs, you will need to interfere to ensure a safe hatch. These acts will help to determine if the bird is healthy or if the eggs may not have hatched due to other environmental factors, such as:
- Infertile eggs
- Inadequate temperature and humidity levels
- Mishandling of eggs
- Bacterial infection
- Old eggs
- Hen absence
Not only will we go through the actions to take for when duck eggs don’t hatch, but we will also explain why this might be happening. Understanding the full process of growing fertilized duck eggs and providing them with the necessary conditions to hatch will explain problems that may be occurring and how you can make changes for future duck hatching cycles.
What Causes Duck Eggs Not to Hatch?
Duck eggs may not hatch due to complications with the duckling struggling to break through or for additional environmental factors. We will work through these in detail and also offer advice on how you can help the process for the current or future hatches.
Hatching Complications and How You Can Help
The hatch may not be taking place due to complications with the bird breaking through the inner membranes or the shell itself. Of all the reasons on our list, this is the one category in which you can be instrumental in allowing for the eggs to hatch during this cycle.
It is first important to understand the typical hatching cycle for a duck so you know what is considered ‘normal’ and when you should interfere if these steps don’t occur as they should. Duck eggs typically take 28 days to hatch, so you shouldn’t suspect any issues any time before this period passes. Some breeds, such as Muscovy ducks can take over 35 days to hatch.
When a duck is getting ready to hatch, it will first need to break the internal pip, which is the inner membrane that separates the duckling from the air pocket in the egg. The duckling should break this 1-2 days before hatching. After this occurs, it should take up to 24 hours for the external pip (breaking of the shell) to occur. Expect nothing to happen for another day.
There are a few situations in which you should assist in the hatching process if complications occur:
- Nothing happens for 24 hours after internal pip occurs: The duck will run out of air in the unbroken egg after around 24 hours. You will need to help break the external pip so it can continue to get oxygen. Create a tiny breathing hole by gently cracking the egg.
- Trapped in inner pip: Sometimes, the duckling may not be able to get out of the inner membrane, and you may have to break this. This often occurs when the humidity levels are not appropriate. Try to peel back very small amounts of membrane and letting it be so the duckling can do the rest.
- Location of crack: Make sure the crack occurs on the larger side of the egg so that it will be able to successfully get out. If the small side is cracked, it won’t be able to get out easily. You may need to make a crack on the larger end.
- Duck positioning: Just like other babies being delivered, a duck can be in an awkward body position that is preventing them from hatching properly. If this occurs, you may need to break open more of the shell to give it more space to move and hopefully hatch successfully.
Assisting in the egg hatching should be a last resort measure because you may be doing more harm than good. Only crack the egg or break the membrane if it is absolutely crucial. We recommend using tweezers to start this process. Use the 48-hour rule in order to gauge if you should get involved in the first place.
Get a Look Inside the Egg
You can check to see if the internal pip has broken 24 hours before hatching through the process of candling. This is the process of applying light to an egg so you can see what is happening on the inside. You should see the duck’s bill breaking through the sac and into the air pocket if it has successfully broken the internal pip.
If no signs of hatching occur, consider assisting by breaking the internal and external pip carefully and in very small increments, so the duck has the chance to hatch properly.
Eggs Not Being Fertile
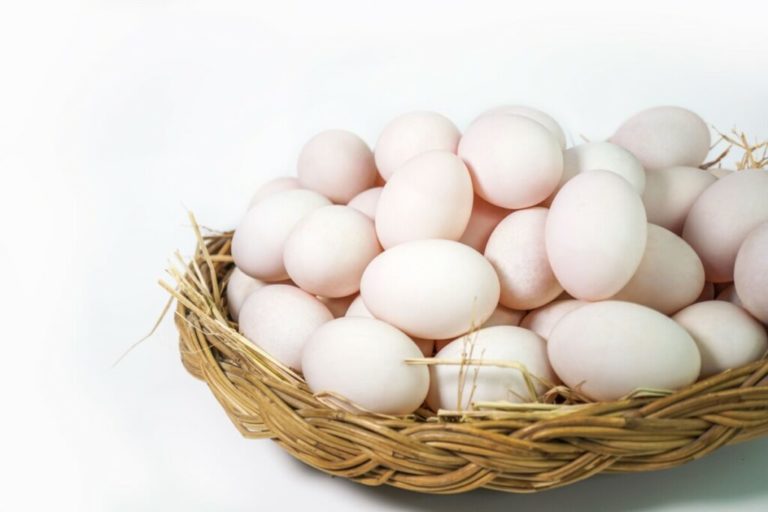
You must make sure that the duck eggs you have are fertilized, or there will be no hatching. When a duck lays eggs, a drake (male duck) must be present for the eggs to be fertilized. Hens can lay eggs without any fertilization taking place, and these are ready to eat. In order for duck eggs to be fertilized, the two need to mate before the eggs are laid.
The eggshell will form around the ovum and sperm, allowing the eggs to be fertilized. To make sure the eggs will hatch, it is necessary to know that the hen has recently mated with a drake. To check if the egg has been fertilized, you can also use the candling technique. You will be able to tell if a duck is growing with the formation of blood vessels around day 5 of incubation.
Duck eggs can be raised by hens incubating by laying on them or in an artificial incubator where you are mimicking their natural conditions. You must ensure that eggs are fertilized after day five, or else the eggs will not hatch. Even when a drake is present, there could be a chance that some of the eggs are not successfully fertilized.
Inadequate Temperature and Humidity Levels
Many people choose to raise duck eggs in an artificial incubator after the eggs have been fertilized. This allows you to raise ducks without having the hen present. Fertilized duck eggs are placed in an enclosed air circulation incubator where the temperature and external conditions are controlled. If these settings are not sustained, the eggs may not hatch.
These are the proper settings to use when raising duck eggs in an incubator:
- Temperature: The initial temperature should be set at 99.5 degrees Fahrenheit. This will occur in the incubator for the first 25 days. This mimics the Hen laying on the eggs and keeping them warm.
- Humidity: 55% humidity should be maintained for the first 25 days of the incubation process. If humidity is not kept at the necessary levels throughout the incubation process, the embryo may dry out.
- Turning: Eggs need to be turned at least four times per day in order to keep the conditions even on all sides of the egg. It also helps to make sure that the egg will hatch correctly. Be careful in turning them as they are fragile and can become damaged.
After 25 days, the settings will need to change as you transition from an incubator to a hatcher. This means they are put into trays that will offer the ideal environment for hatching. Reduce the temperature to 99 degrees Fahrenheit, and the humidity needs to be increased to 65%. Continue to increase humidity to 80% when pipping begins.
As the process continues to near-completion, you will need to decrease the temperature to 97 degrees Fahrenheit and humidity down to 70%. Follow ventilation settings detailed by the incubator instructions. Make sure you are monitoring the temperature and humidity regularly throughout the incubation period to ensure healthy duck egg hatching.
If these conditions are not met and followed during the incubation period, the eggs will not hatch. Make sure these steps are followed so your duck eggs can hatch successfully. Humidity issues are one of the most common problems that result in eggs not hatching. Controlling this variable is arguably the most important in raising duck eggs.
Mishandling of Eggs
Because a large portion of people who raise duck eggs do so artificially, they are often ordering the eggs from a breeder. These eggs will come to you fertilized and be ready to put in the incubator upon delivery. The eggs need to be transported or shipped, which can be fairly disruptive to the eggs. Increased movement, shaking, or mishandling may result in damage.
If the eggs are rattled or damaged during the transporting process, they may be unable to grow or have died before the incubation process can even begin on your end. If you do receive all the eggs intact, it will be necessary to be careful once they are in your care. The same problems can occur if they are overhandled or damaged on your end.
If the hen is present, it is necessary that you do not touch the eggs if at all possible. Any interference may convince the hen that a predator may be nearby. The mother can abandon the eggs and then the growth of the embryos will not occur. Any touching, both with the hen or artificially, will increase the chances for damage.
Bacterial Infection
Duck eggs can become infected and cause the embryos to die in some cases. In an artificial incubation setting, infection is a risk if the area is not kept clean. Because the environment is hot and humid, this becomes a breeding ground for bacteria to develop. This is especially true between hatchings to make sure the new batch is not contaminated.
Newly hatched eggs are susceptible to bacteria as they are continuing to form and grow. Keeping the eggs in ideal conditions and following proper growth habits will prevent the entrance of bacteria into the egg embryo.
You should be candling throughout the process to find the unfertilized and dead embryos. They can be great sources of bacteria to infect the other healthy eggs. Their presence, combined with the high temperature and humidity, creates a breeding ground for bacteria and disease.
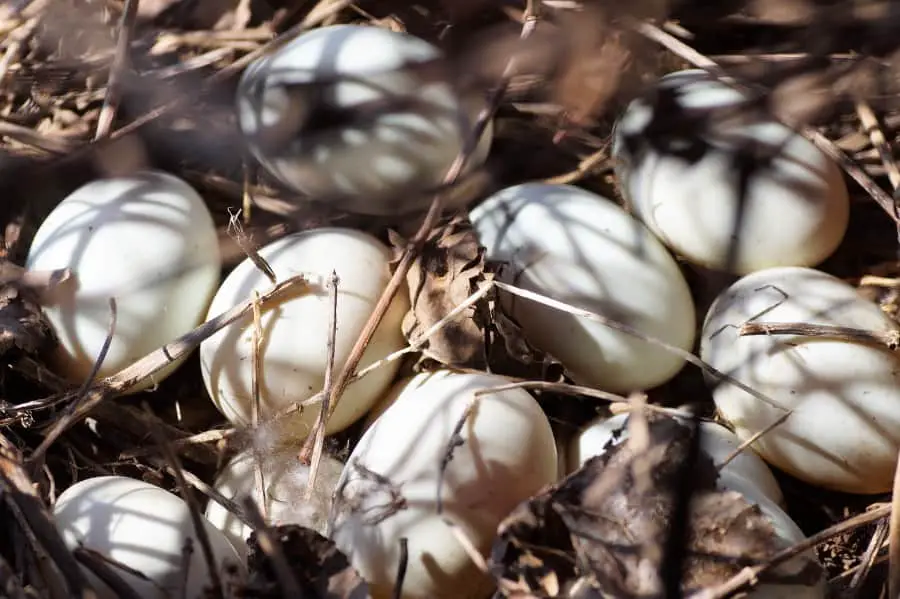
Old Eggs
Once the hen has laid the eggs, the incubation process needs to start soon after. This will ensure that eggs can develop successfully. Eggs that have been fertilized but are not put in the ideal conditions soon enough will not be able to grow. The quality of the egg declines, and the fertility is compromised.
Fertility remains at its most effective level up to 7 days after the eggs are laid. If the incubation process occurs after this week long period, the fertility will decline, and this could compromise the quality of the growth process and may result in eggs being unable to hatch.
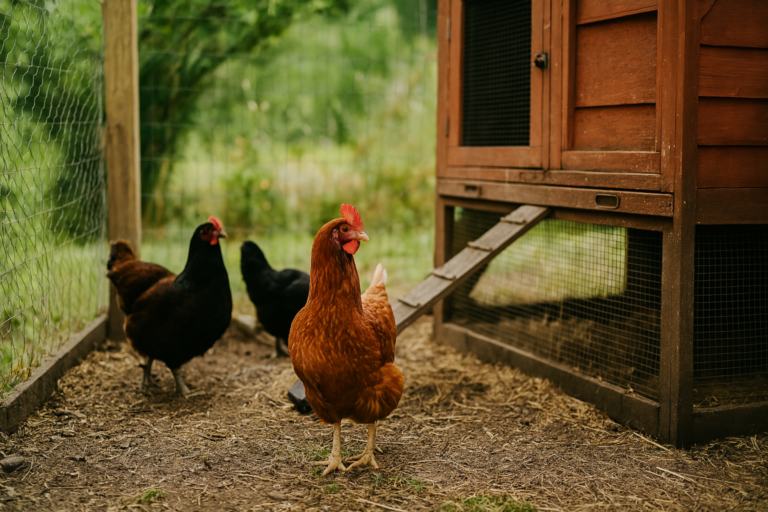
The Hen Doesn’t Sit on Eggs Consistently
If the event that you are hatching eggs with the hen present, you will be relying on them solely for the incubation to take place. If the hen does not spend enough time sitting on the eggs, the eggs will not be able to grow properly. Hens typically spend around 20 hours per day sitting on their eggs, passing heat down from the mother to the ducklings.
A hen will leave her eggs to eat and exercise in the remaining hours throughout the day. If the hen is not present on the eggs for the suggested amount of time throughout the 28-day process, the embryos may not develop. This will result in the eggs not hatching. Certain breeds of ducks, such as Muscovy, have difficultly being artificially incubated and require hens.
How You Can Help
Make sure if you are watching over a hen and her eggs that she is spending the necessary time sitting on them. Water and food should be easily accessible to her so that she can worry more about her eggs and less time about acquiring necessary survival resources.
In some cases, you may stumble across abandoned eggs and want to help. If the hen was recently there, the eggs will be warm. Abandoned eggs are at a higher risk for not hatching because they may not have been kept at ideal temperature or humidity, and there could have been damage from predators.
Check on Eggs During Incubation Period
Before you get to the point where the duck eggs won’t hatch, you should be checking on the ducks throughout the incubation period. You will be able to identify which eggs are alive and those that are dead. This will leave you with few surprises when the 28 days pass.
There are multiple ways to check to see if a duck is dead or alive:
- Candling: The technique we mentioned above is successful in checking the progress on the eggs. You can shine a light on the egg to see what is inside. Look for the development of veins and any movement of the developing embryo. If the egg is white or you don’t notice any embryo, the egg is dead.
- Float test: If an egg sinks in water, it may be dead. If it is floating but has the small end facing down, it may also be dead.
- Egg characteristics: Cracks may be signs of damage and could suggest it is dead (watch over longer periods) or movement of the egg will suggest the embryo is growing and still alive.
You can keep the egg in the incubator until you have confirmed the egg has died. If you have noticed these things taken place, it will inform you as to why that particular egg may not hatch after the 28 days.
Make sure you are not handling the eggs frequently, as this can be problematic to hatching. Eggs are best left alone in their ideal conditions, whether this is through artificial incubation or with the use of a hen.
How to Make Sure Duck Eggs Hatch
This article has detailed the many reasons that duck eggs may not hatch. Most of them are preventable, but once they occur, it is difficult to recover from. The primary way to handle a duck egg not hatching is to assist in the hatching process if you have made sure that all the other proper conditions have been met.
Keeping the ideal conditions for embryo growth and checking in on the eggs while handling with care will help to ensure that the eggs can successfully hatch after the 28 days. Try to involve yourself as little as possible in the hatching process unless the 48-hour mark passes. When this occurs, still try to limit contact only to necessary involvement.
In many cases, there will be a chance that some eggs will not hatch. While this is not ideal, it is somewhat common and will give you an opportunity to continue improving the conditions for the next batch of duck eggs you raise.