Microhomesteading Starter Kits: What You Really Need to Begin (and What You Don’t)

Getting Started with Less Stress and More Success
So you’ve been thinking about growing your own food, maybe even composting your kitchen scraps, but you’re not sure where to start—or what’s actually worth buying. That’s where microhomesteading comes in. It’s all about building a simple, self-reliant lifestyle with whatever space you’ve got—even if it’s just a small yard, a balcony, or a few sunny windows.
This guide will walk you through the real-deal essentials—the stuff we’ve tested, loved, and found to actually work when you’re just getting started. No fluff. No overpriced bundles. Just the tools and setups that’ll make your first season easier, cheaper, and way more fun.
Whether you’re on a budget or just overwhelmed by all the gear out there, we’ll show you:
- What to invest in (and why)
- What you can skip (at least for now)
- A few smart DIY microhomesteading tips that save cash
- And even a starter kit shopping list you can build for under $250
The goal? Help you grow more, waste less, and feel good doing it—without needing to “go off-grid” or spend your entire weekend on YouTube tutorials.
Let’s get started building your tiny but mighty homestead.
What Is Microhomesteading (and Why It’s Booming Right Now)
If the word homestead makes you think of acres of land, chickens roaming free, and off-grid cabins—you’re not alone. But microhomesteading flips that idea on its head. It’s about using what you’ve got—whether it’s a tiny backyard, a shared patio, or even a sunny windowsill—to live more sustainably and grow some of your own food.
So, why is microhomesteading trending in 2025?
- Food prices are still going up, and growing your own lettuce or tomatoes actually saves money.
- More folks want to cut down on waste—from food scraps to plastic packaging.
- There’s growing interest in self-reliance without going full prepper.
- And let’s be honest: there’s nothing like harvesting your own dinner.
Even just a few square feet can support:
- Salad greens
- Tomatoes
- Herbs
- Peppers
- Strawberries
And with some creativity? You can compost, collect rainwater, and start seedlings without needing much room.
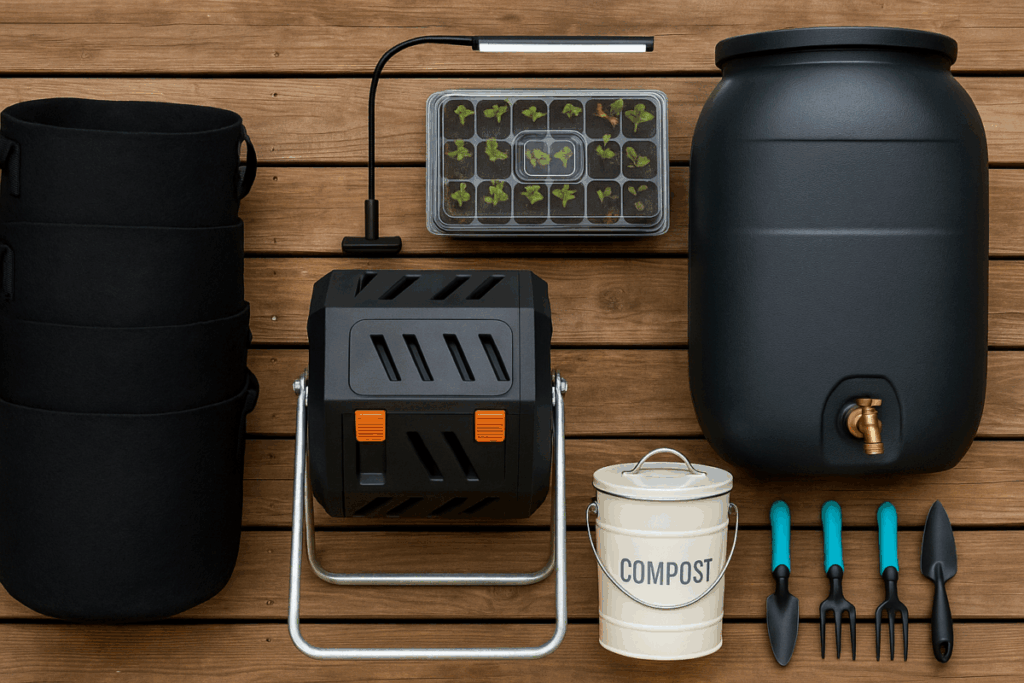
What Belongs in a Microhomestead Starter Kit?
There are five categories that make up a complete microhomesteading starter kit. Think of them like your toolbelt for growing more and wasting less. Let’s break them down:
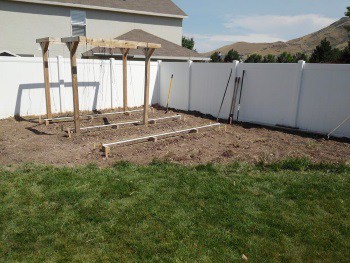
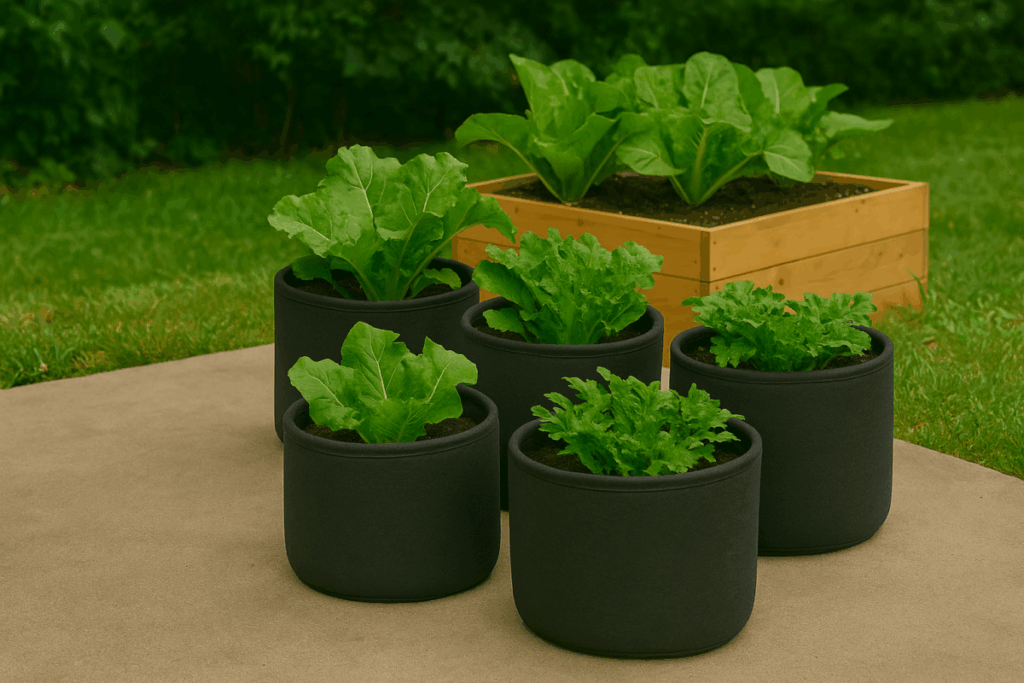
1. Grow Space: Raised Beds or Fabric Grow Bags
If you’ve got yard space, raised beds are perfect. But if you’re working with a patio or deck, fabric grow bags are lightweight, breathable, and easy to move around.
| Option | Pros | Best For |
|---|---|---|
| Fabric Grow Bags | Affordable, portable, great drainage | Small spaces, renters |
| Raised Beds | Durable, long-lasting, can grow more | Yards, permanent spaces |
2. Compost Setup: Indoor or Outdoor
You don’t need a big compost pile to reduce food waste and create nutrient-rich soil.
Depending on your space, you’ve got options:
| Compost System | Where It Works | What You’ll Need |
|---|---|---|
| Bokashi Bin | Indoors | Airtight bin + bran mix |
| Worm Bin (Vermicompost) | Indoors or patio | 2 tubs, bedding, worms |
| Compost Tumbler | Backyard | Prebuilt bin, space to rotate |
Pro tip: Start small. Even composting just coffee grounds and veggie peels makes a difference.
3. Rainwater Collection (Yes, Even in the City)
Rain barrels are one of the most underused homestead hacks—and they’re legal in most U.S. states now. A simple 50-gallon barrel can water an entire garden in dry weeks.
Benefits:
- Cuts water bills
- Keeps plants happy with untreated water
- Makes you more resilient during droughts
Don’t forget a basic spigot and a way to cover the barrel to keep mosquitoes out.
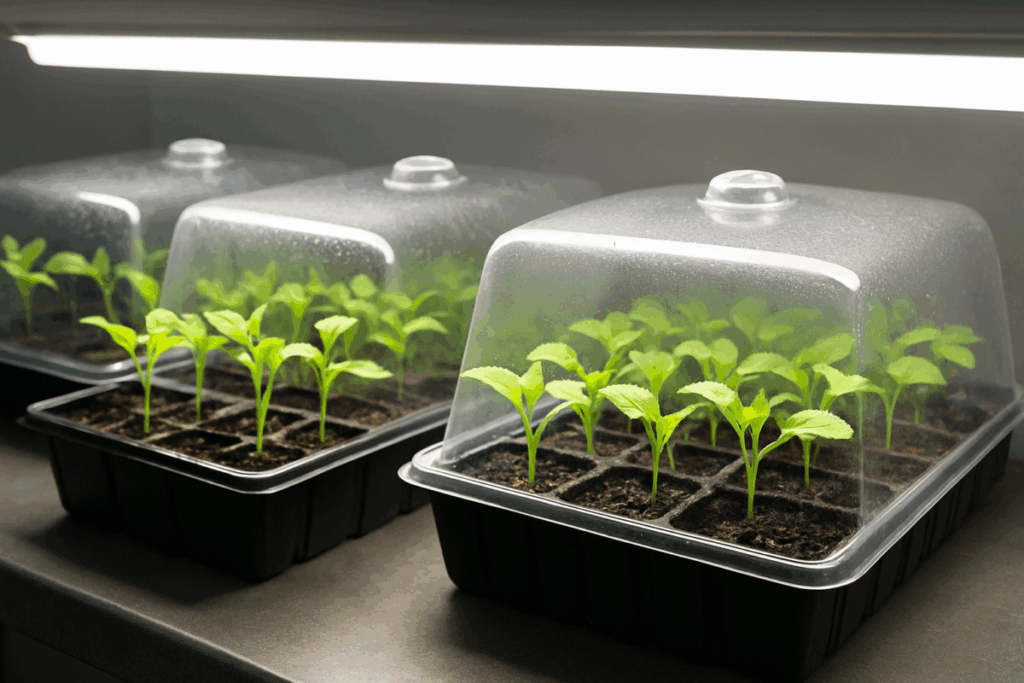
4. Seed Starting Station
You don’t need a greenhouse or fancy setup—just a shelf, a grow light, and some trays.
Starting your own seeds gives you:
- Earlier harvests
- Access to more varieties
- A huge cost savings over nursery plants
| Item | Why You Need It |
|---|---|
| Grow Light | Strong seedlings indoors |
| Trays with Humidity Domes | Boost germination success |
| Seed Starting Mix | Lighter and fluffier than potting soil |
5. Essential Garden Tools
This isn’t the time to buy the giant rolling toolbox. You just need the basics.
Must-haves:
- Hand trowel
- Transplanter
- Pruning shears
- Watering can
- Gardening gloves
Nice-to-haves:
- Soil scoop
- Moisture meter
- Garden kneeler with storage
Keep it lightweight, durable, and ergonomic if you’ll be working in tight spaces or on a balcony.
Starter Kits Worth Buying (and the Ones to Avoid)
When you’re just starting out with microhomesteading, it’s tempting to grab one of those “all-in-one” kits with everything bundled together. Some of them are helpful. Others? Total overkill or full of low-quality gear.
Here’s a quick look at what to consider when shopping—and what to leave on the shelf.
What’s Actually Worth Buying
| Kit Type | Why It’s Worth It | Trusted Options (Verified) |
|---|---|---|
| Compost Starter Kits | Great for beginners, includes everything needed to start composting indoors or out | Bokashi Compost Starter Kit – Includes Bran & Bucket |
| Seed Starting Kits with Grow Light | Boosts germination, helpful for tight indoor spaces | Grow Light Seed Starter Tray with Humidity Dome |
| Rain Barrel Kits with Diverter | Easy water savings, installs in minutes | RTS Home Accents 50-Gallon Rain Barrel with Spigot |
| Worm Composting Bins | Compact and odor-free when used correctly | VermiHut Plus 5-Tray Worm Compost Bin |
These options are easy to set up and will help you start producing compost, seedlings, or stored water within days—not weeks.
What to Skip (at Least for Now)
| Kit Type | Why It’s Not Worth It (Yet) |
|---|---|
| Mega Garden Tool Bundles | Often includes low-quality tools that break or rust fast |
| Livestock Starter Kits | Chickens, rabbits, or bees are great—but not first-season friendly unless you’re fully ready |
| Large Hydroponic Systems | Cool tech, but expensive and not needed to get started with homegrown food |
| Pre-Assembled “Urban Homestead Kits” | Typically overpriced with filler items you don’t need (and few you do) |
Instead of buying big bundles, it’s smarter (and often cheaper) to buy only what you’ll use in your space. The rest? You can add as you go.
Microhomesteading on a Budget: What You Can DIY
Starting a microhomestead doesn’t have to mean buying everything brand-new. In fact, some of the best solutions are the ones you make yourself—from repurposed containers to homemade compost setups.
If you’re trying to stretch that budget (or just enjoy getting hands-on), here are a few easy, low-cost ways to get started without sacrificing results.
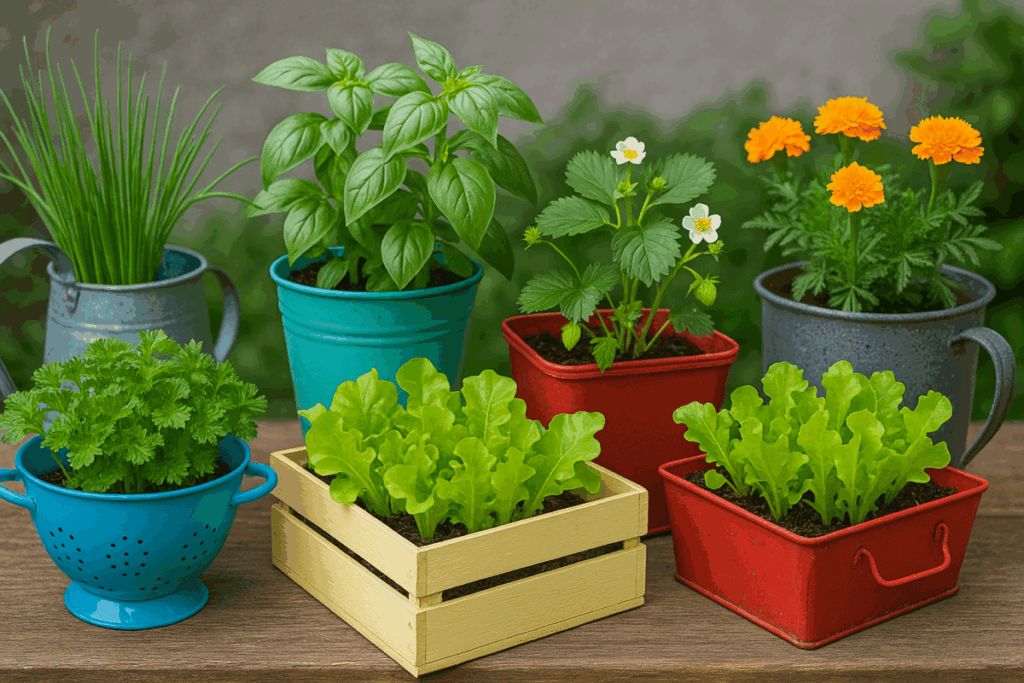
1. Planters from What You Already Have
You’d be surprised what can double as a planter:
- 5-gallon buckets (drill holes for drainage)
- Milk crates with fabric liners
- Old dresser drawers or wooden crates
- Colanders, mugs, or even sturdy canvas totes
Bonus tip: Use grow bags if you want something portable and breathable that performs just as well (or better) than a traditional pot.
Budget pick: Set of 5 Fabric Grow Bags with Handles – 5 Gallon
2. DIY Worm Compost Bin (Apartment-Friendly)
Worm composting, or vermicomposting, works great even in small indoor spaces—and it’s surprisingly easy to set up:
- 2 plastic storage bins (stacked)
- A drill for ventilation holes
- Shredded newspaper for bedding
- Red wigglers (available online or from local garden groups)
Once it’s going, this bin will quietly turn your veggie scraps into rich compost—no smell, no mess.
Optional: If you’d rather skip the build, you can grab a compact bin like the Maze Worm Farm Mini Compost Bin, which fits under a sink or on a balcony.
3. Homemade Trellises, Frames & Support
Skip the pricey kits and build your own with:
- Old broom handles, bamboo poles, or scrap wood
- Zip ties, jute twine, or metal wire
- Pallets, tomato cages, or salvaged fencing
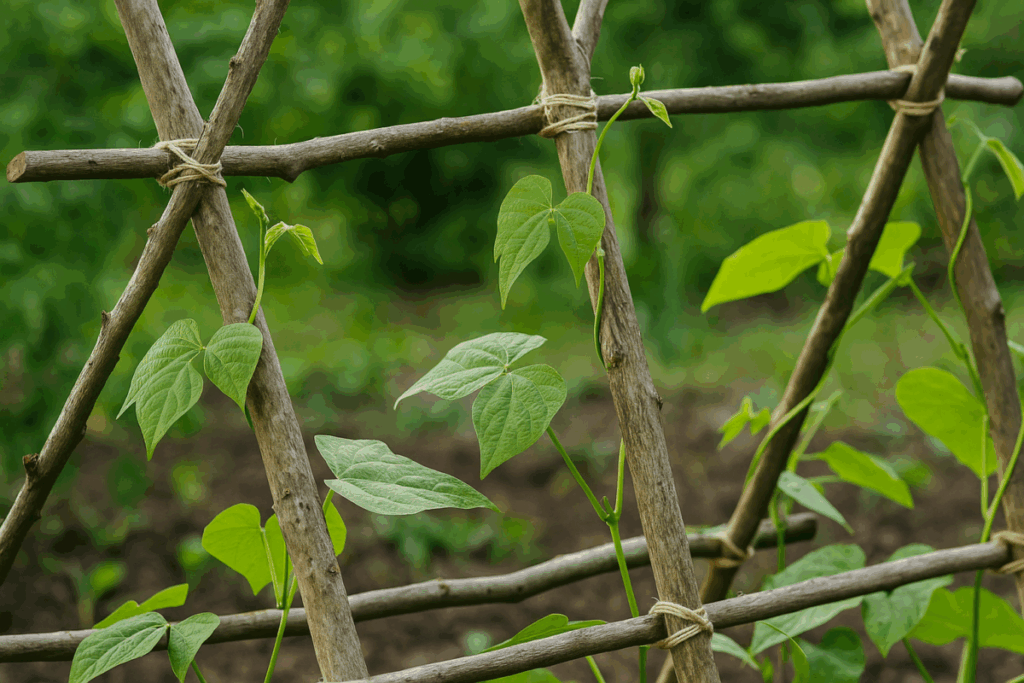
This works great for:
- Peas
- Beans
- Cucumbers
- Tomatoes
- Squash
4. Rainwater Catchment on the Cheap
If a pre-made rain barrel isn’t in the budget, try this:
- Clean 30–50 gallon food-grade drum
- Spigot kit + mesh screen
- Downspout diverter (optional)
This setup might not look Pinterest-perfect, but it’ll collect enough water to keep your garden going in dry spells.
Low-cost option: EarthMinded Rain Barrel DIY Diverter and Parts Kit
5. Use Kitchen Scraps to Regrow Food
This one’s fun and free. Just place cuttings in water and watch them sprout:
- Green onions
- Lettuce cores
- Celery
- Garlic
- Basil
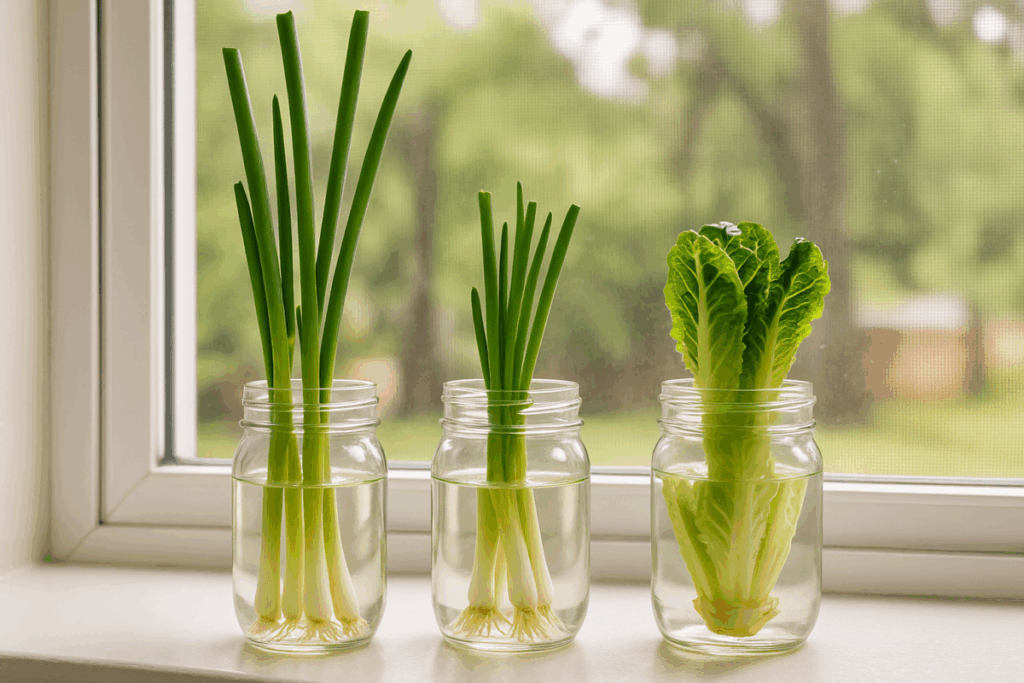
It’s not going to feed your whole family, but it is a great way to reduce waste and start getting the hang of regrowing food.
Key Takeaway:
You can get a solid start with just a few dollars and a little creativity. The goal isn’t perfection—it’s progress. Build a system that fits your space, your budget, and your daily life.
What You Don’t Need (Yet)
One of the biggest mistakes new microhomesteaders make? Buying too much, too soon. It’s easy to get excited and overstock your shed or spend hundreds on gadgets you don’t actually need (yet).
If you’re just starting out, here are a few things you can confidently skip—for now.
1. Fancy Irrigation Systems
Drip irrigation setups and automatic timers are great once you’ve got a large garden going. But when you’re starting with a few raised beds or grow bags?
A watering can and a simple hose do the job just fine.
Pro tip: Water early in the morning or late evening to minimize evaporation.
2. Livestock Gear
Chickens, ducks, rabbits—even bees—can all be part of your long-term homestead vision. But they’re not beginner-friendly without prep.
Why wait?
- Local ordinances can be tricky
- Daily care is required (vacations get complicated!)
- There’s upfront cost for housing, fencing, and feed
- Predators and neighbors may not love your setup
Focus first on crops, compost, and water systems. Livestock can come later.
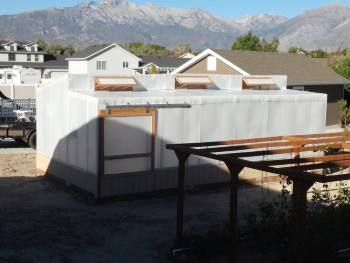
3. Greenhouse Automation
You might see kits that come with:
- Temperature sensors
- Ventilation fans
- Auto-misters
- Digital control systems
They’re cool… but they’re not essential for a beginner with a mini greenhouse or cold frame. Most plants grow perfectly well with manual care in small spaces.
Start with a basic setup, and upgrade as needed if you’re growing year-round or in extreme climates.
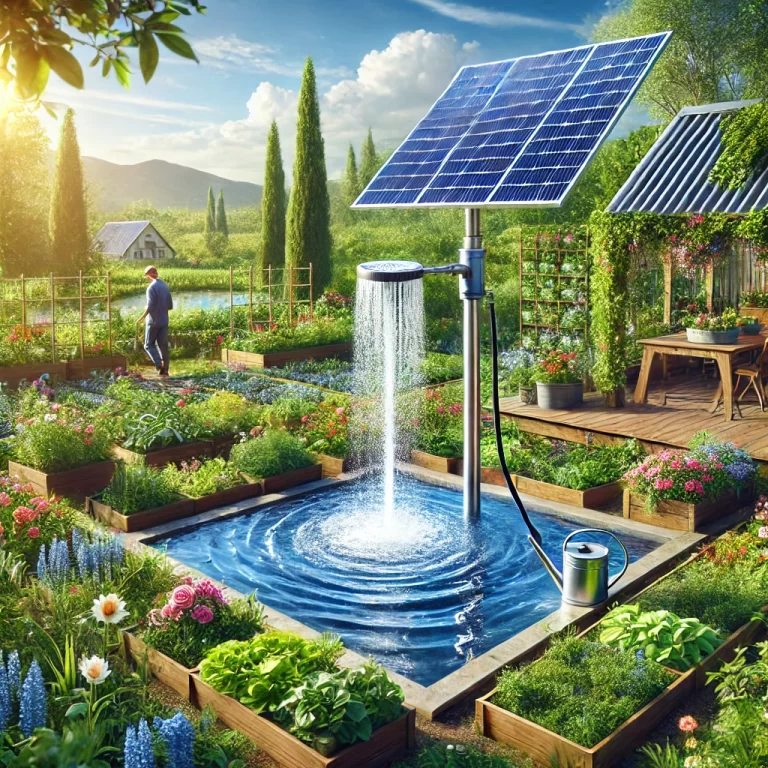
4. Top-Shelf Solar Gear
Solar is smart, especially for powering fans, lights, or pumps. But many entry-level kits are either underpowered or overpriced. Unless you’re off-grid or managing a large plot, you don’t need a solar array right now.
5. “Mega Bundles” and Subscription Boxes
Watch out for flashy “all-in-one homestead kits” or monthly boxes with random tools and trinkets. They often:
- Include items you won’t use
- Lack quality or durability
- Don’t fit your space or goals
You’re better off buying specific, intentional gear you’ll actually use.
Key Takeaway:
Start small. Grow into it. Microhomesteading isn’t about buying more—it’s about making more out of what you have.
A Real Starter Kit Shopping List (Under $250 Total)
You don’t need to spend thousands to get started. In fact, you can build a fully functional microhomestead setup—complete with grow space, composting, seed starting, and water collection—for less than $250.
Here’s a budget-friendly list of trusted tools and gear that we’ve either used ourselves or reviewed thoroughly. All items are in-stock and ship quickly from Amazon.
| Category | Product | Link | Price |
|---|---|---|---|
| Grow Space | 5-Pack 5-Gallon Fabric Grow Bags | Heavy-duty grow bags with handles | ~$18 |
| Composting | Dual Chamber Outdoor Compost Tumbler | Sturdy, rat-proof tumbler bin | ~$70 |
| Seed Starting | Grow Light + Seed Tray Kit | LED grow light seed starter set | ~$35 |
| Water Collection | Rain Barrel with Spigot | 50-gallon rain barrel with flat-back design | ~$80 |
| Essential Tools | Ergonomic 3-Piece Garden Tool Set | Comfort-grip trowel, transplanter, and weeder | ~$20 |
| Bonus Add-On | Kitchen Scrap Compost Caddy | Indoor compost bin with charcoal filter | ~$22 |
Estimated Total: ~$245 (before tax/shipping)
Want to DIY Even Cheaper?
You can substitute:
- DIY worm bin instead of compost tumbler
- Upcycled containers instead of grow bags
- Reused jars for seed starting
That could knock your startup cost under $150, depending on what materials you already have on hand.
Final Thoughts:
Microhomesteading doesn’t have to be complicated or expensive. With this simple kit, you’ll be growing food, making compost, and capturing water by next weekend. And best of all? It scales with you as your garden grows.
Frequently Asked Questions (FAQ)
1. What is microhomesteading?
Microhomesteading is the practice of growing food, composting, collecting rainwater, and living more sustainably in small spaces—like backyards, patios, or even balconies. It’s ideal for urban and suburban dwellers who want more self-reliance without needing acres of land.
2. How much space do I need to start microhomesteading?
You can start with as little as 10–20 square feet. A few grow bags or raised beds, a compost bin, and a rain barrel can fit in most backyards or patios. Even a sunny windowsill is enough to grow herbs and greens.
3. What are the first tools I should buy for microhomesteading?
Start with the basics:
- Fabric grow bags or raised beds
- A compost system (indoor bin or outdoor tumbler)
- Seed starting kit with grow light
- A watering can and basic hand tools
- Optional: A rain barrel for water collection
You can build a complete starter kit for under $250 with the right gear.
4. Can I compost indoors without bad smells or pests?
Yes! Indoor composting is easy with the right setup. Use a bokashi bin or worm composting system (vermicompost). They’re low-odor, compact, and safe to keep under a sink or on a balcony—just follow basic care instructions.
5. Is it cheaper to grow your own food at home?
Definitely. Even a small garden can save hundreds per year on fresh produce. Herbs, salad greens, tomatoes, and peppers are among the most cost-effective crops to grow at home—especially when you factor in rising grocery prices.
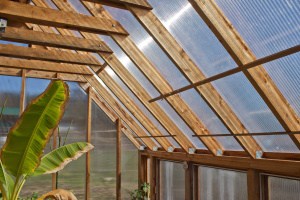
6. Do I need a greenhouse to start microhomesteading?
Not at all. Greenhouses are helpful, but not necessary when you’re just getting started. You can grow plenty of crops with just sunlight and basic protection like row covers or indoor grow lights. A mini greenhouse or cold frame can be a future upgrade if needed.
Conclusion: Start Small, Grow Big
Microhomesteading isn’t about being perfect—it’s about getting your hands in the dirt and figuring it out as you go. With just a few simple tools and a little space, you can grow fresh food, reduce waste, and create something meaningful right in your own backyard (or balcony).
Start with the basics. Pick up the essentials that make the most sense for your space and goals. You’ll be surprised how much progress you can make with just a few raised beds, a compost bin, and a watering can.
And remember—it’s okay to learn as you grow. Don’t wait until everything’s perfect to get started. The best time to plant your first seed… is today.