Make a Short Duration Irrigation Controller Using a Modified Standard Sprinkler Timer
 What is a gardener to do when they have fantastic water pressure and volume but very poor drainage to the point that we have runoff at about 30 seconds in our vegetable beds?
My solution was to build an electronic valve signal interceptor that cuts off the power after seconds instead of minutes.
The ideal for watering vegetables is a more frequent, less time irrigation. This helps keep the soil moist (not wet) so the soluble minerals are always available to the plant. Helping them grow and produce food in a very short amount of time.
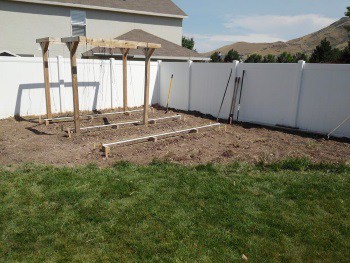
Too much water leads to flooding and mud in the isles/pathways, more weeds, and plant nutrients being washed away. Wasted water, time, and money!
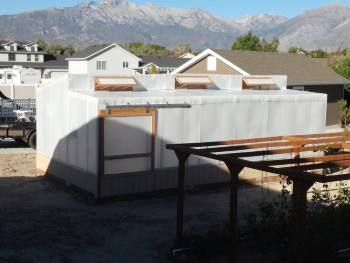
Just moving into a new house with whatever the builder left as back-fill (like a lot of buried concrete) gives you a chance to start a garden from a clean slate.
Like us, that might mean less than perfect soil that might take a few years to build up using clean organics (like sawdust) and other beneficial materials that help improve drainage (sand, perlite, Utelite, peletized gypsum, etc.)
Most inexpensive irrigation timers for the homeowner don’t have a setting for anything less than 1 minute – even when you try to reduce it using the percentage setting. Timers that can be set for seconds instead of minutes can be expensive. Plus I want to use the same controller to irrigate the whole yard.
How I Made My Own Short Duration Irrigation Controller
Step One: Convert the ac voltage from the controller to dc – a simple diode bridge rectifier does the trick!
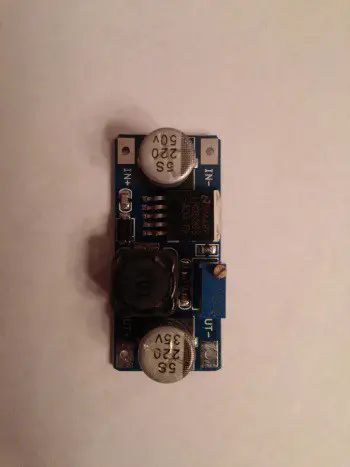
Step Two: Reduce the voltage down to 12 vdc for the circuit – Buck Converter, check!
Step Three: Setup a simple timer with a variable resistor and a capacitor that throws a relay switch when the capacitor fills, cutting off the power to the valve.
Step Four: Add a terminal block connector to tie it in to the controller and BAM – Bob’s your uncle!
Here’s the prototype on a breadboard. The potentiometer controls how fast the capacitor fills.
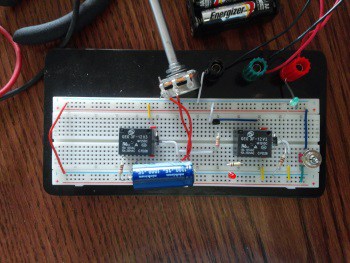
When the capacitor reaches capacity 🙂 it overflows and triggers the gate in a transistor – which completes the circuit for the coil in the relay – cutting off power to the valve. Genious!
After an hour or so of circuit board component Tetris, this is what we have.
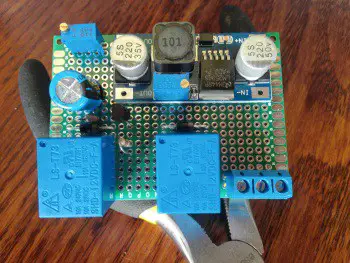
Now to solder everything into place.
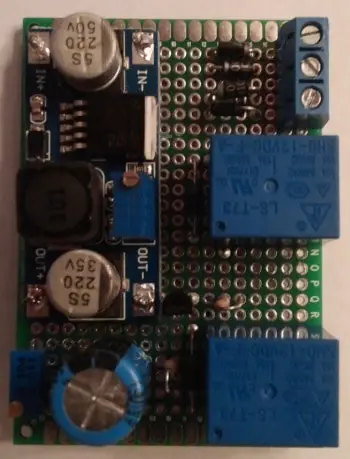
Attach it to the controller – one lead from the controller’s port for the zone you want to intercept, one tying into common, and the third is the original wire that goes out to the valve.
SUCCESS!!

Now when the timer comes on to water that zone, it will only water for about 30 seconds, regardless the time set on the controller!
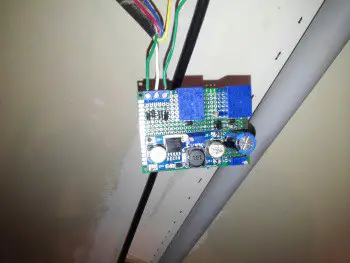
One down, two more to go. When I’m finished, I’ll just mount them on the wall next to the controller and be able to fine tune the zones down to seconds instead of minutes.
Probably get added to some government security list for showing the finished mounting 🙂 but here it is – all three zones’ circuit interrupters mounted next to the controller.

On to the next adventure!