How to Grow Runner Beans in a Grow Bag
Runner beans are probably what Jack in Jack and the Beanstalk climbed on his way to meet the giant who hated Englishmen. They’re one of the most popular vegetables people plant in their gardens, with beautiful emerald leaves, fast-growing stems, and fat pods of beans. The thing of it is, you don’t need to till a garden to plant runner beans. Any container capable of holding soil and water can be used for growing runner beans. One of the most popular these days is grow bags.
You can grow runner beans in a grow bag in much the same way as you would if you were planting them in a traditional garden, with soil preparation, planting the seeds at the proper depth, providing initial water and fertilizer, and follow-up water and fertilizer as the plant grows.
You might be unfamiliar with the term “grow bag,” but you probably can imagine what it is. A grow bag is a bag typically made out of plastic or fabric, that can be filled with soil, peat, compost, wood chips, or any root-friendly medium. Some can even be purchased already pre-filled with potting soil. The bag can be specially made for this purpose, or you can use trash bags or plastic shopping bags – as long as they hold water and are reasonably sturdy.
Why Grow Bags Make Sense
Grow Bags made their debut in the 1970s when society was undergoing a return-to-nature, anti-big corporation, self-sufficiency movement, which has survived in various forms today. Apartment dwellers could enjoy fresh, grow-your-own vegetables with a few modifications to the traditional gardening methods. Shift workers who didn’t have the time to till, weed, and maintain a traditional garden could manage it all from his or her patio or apartment balcony.
Containerized gardening – or greenhouse gardening – preceded grow bags by decades. That was among the first revolutions in how Americans grew their gardens, but certainly would not be the last. One of the drawbacks of greenhouse gardening, however, is that the soil had to either be replaced or sterilized each season to rid them of pests and diseases that may have accumulated in the soil during the growing season.
You still have to do the same thing with the soil in grow bags, but because the investment is so light and the manipulation of the bags is so easy, gardeners simply throw out the plant and soil into the compost pile. The next season, you just use new bags.
Retail grow bags are floppy but do provide some stiffness to keep the soil stable so that it’s not shifting around and losing contact with the plant’s roots. Homemade bags – repurposed shopping bags or trash bags – need to be shored up, and placed inside a pot to keep the soil from rolling all over the place. At the end of the season, it’s still easier to lift the whole bag up than it would be to tip the soil out of the container.
Runner Beans Can Grow “Up”
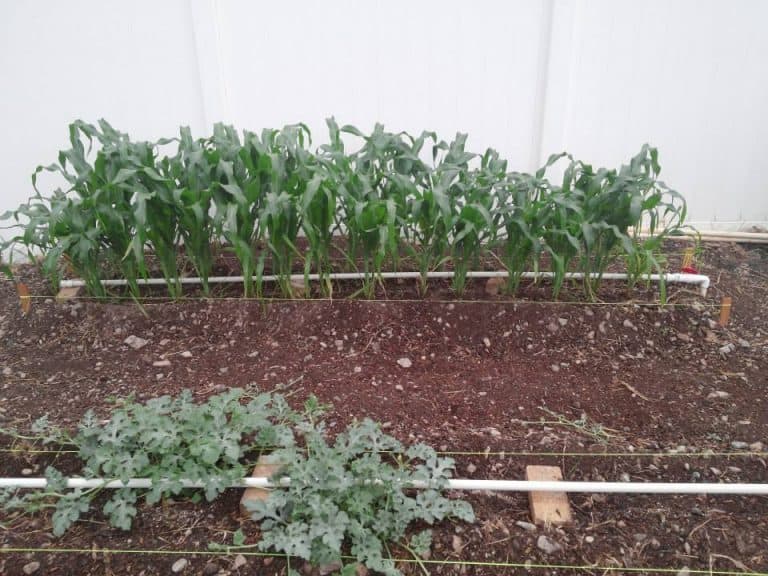
Even in traditional gardens, runner beans can be grown in non-traditional ways. You can plant them next to posts or trellis sections, along fence rows, and even next to corn stalks to get two harvests from the space of one.
Runner beans are great in that they can be the perfect vertical plant. They need room to grow, but that direction can be up, instead of laterally. It can be up and out, also. This is what makes runner beans so popular with container gardeners.
Getting Started With Grow Bag Beans
- Select the location for the bags.
- Select bags that offer sufficient depth for the beans.
- Punch holes in the bottoms of the bags if necessary to provide proper drainage.
- Elevate the bag above the surface.
- Create a hole in the soil for the seed.
- Plant the seed in the hole you created.
- Provide generous initial watering.
Location, Location, Location
If your outdoor space is limited, so are your options on where to locate your grow bags. Nearly all vegetables – except for certain varieties of lettuce – prefer sunny locations. Beans like sun, but they can adapt to almost any location.
If you have a patio on the south side of your house or apartment, congratulations. You have the ideal set up for container gardening, as the sun is shining on it all day long. Conversely, the north side is the worst spot for a container garden. The sun is never directly on a northern exposure. An eastern exposure gets sun in the mornings, and a western gets sun in the afternoons.
But here might be the best advantage of all for grow bag (or container) gardening – you can move the containers, so they get sun when (and where) it’s available. If you can, set your grow bags on wheeled plant movers, or on something that you can easily scoot across the patio or deck.
Because of their abundant vegetative growth, this won’t work as well for the beans as it might for other veggies, but you can move them around for a while in the early spring until the vines start wrapping around things.
Select Bags With Sufficient Depth
If a plant has lush vegetation topside – like runner beans – you can be assured it has a massive root system underground. Runner beans and bush growth beans require a lot of room for root growth. As a general rule, count on five gallons of topsoil per bean plant.
That sounds like a lot, and yes, you can fudge a bit, but for best results, go with five gallons per plant. If the plant ends up “J-rooting” (where the roots hit bottom and turn upwards, like the letter J), the plant will shortchange itself on water and nutrients.
Some suppliers sell what they call grow bags in large, shallow bags roughly the size of a bag of topsoil from the home and garden box store. If you’re inclined to go this route, you’ll want to double up the depth – at least for runner beans. Maybe you could run a line of marigolds across the top of one of these bags, but for vegetables, it’d be best to double up as demonstrated in this video.
If you make or repurpose your own grow bags, you’ll have to set them inside a five-gallon plant pot, or some container that provides enough space for five gallons of topsoil.
Punch Holes in the Bag
You want your grow bags to hold water, yet at the same time release excessive water. If necessary, take an awl or icepick to punch a group of holes in the bottom of the grow bag. The holes should be large enough to let water run out, but small enough to prevent soil from running out.
Too many holes is better than not enough. If you have too many holes, the soil will dry out a little quicker than you would like, but you can always compensate by watering more often. If you don’t have enough holes, the soil can stay saturated for several days, and the roots will get “lazy.” Not only that, overly wet soil can harbor molds and fungi.
If you realize you haven’t punched enough holes in the bag, you can still maneuver your awl under the bag and poke a few extra holes in the bag. It’s not rocket science.
Watch for yellowing leaves as a sign of the plant getting too much water.
Elevate the Bag
The weight of the bag pressing down on its bottom can cut off the drainage through the holes you just punched, so you’ll need to elevate the bag. Placing the bag on a wheeled plant carrier, or on blocks of wood or bricks can provide room for the water to run out.
If you use a makeshift bag, this step is doubly important. If you set the bag inside a planter, make sure the planter has ribs or a grid at the bottom. If not, you can break a brick into pieces and line the bottom with broken bits of brick, pottery shards, or medium-sized rocks.
Create a Pocket in the Soil for the Seed
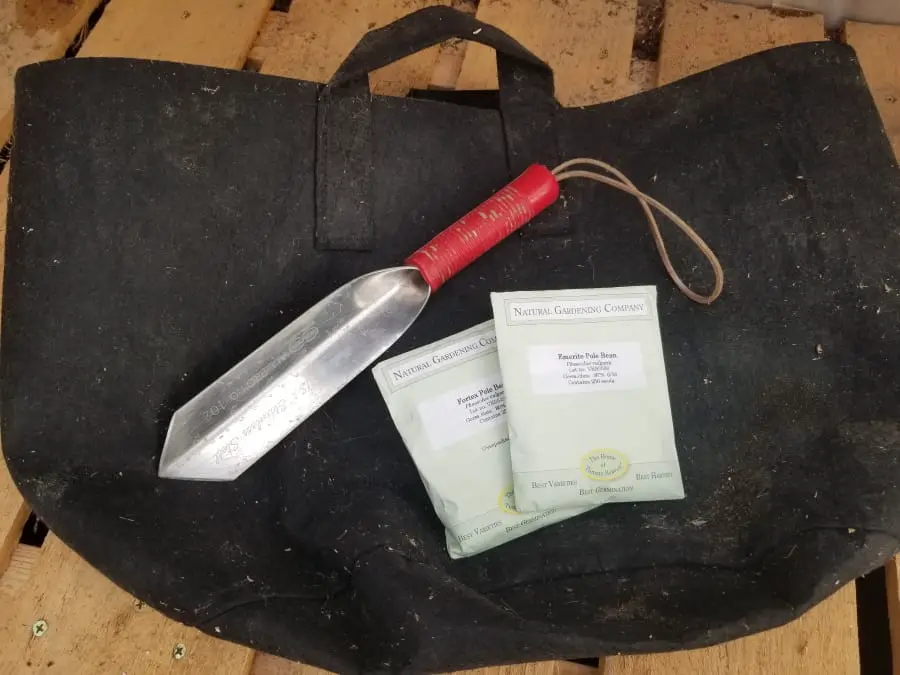
Using a garden trowel, or your hand, create a 2×2 inch pocket in the soil for each seed. This is an often overlooked step. If you skip this step, the seed will, in all likelihood still germinate, but its initial growth will be slightly stunted because the soil is packed so tightly around it.
Plant the Seed
No special pre-germination techniques are required, other than waiting late enough in the spring until there is no reasonable chance of frost. The runner bean seed is so dependable you can put just one in the soil and expect to see growth in a couple of weeks. Plant the seed about two inches deep in loose topsoil.
Drench it well, and test the soil every day for moisture and for signs of germination.
There may be a temptation to have two runner bean plants in a single bag, but avoid this temptation. With their growth so prolific, the two plants would crowd each other and constantly compete with one another for water and fertilizer.
Making a Happy Home for Climbing Beans
Once your runner bean has sprouted, the plant is going to grow quickly. Maybe not to the point where you can climb the stalk the next morning and visit the land of the giants, but it will grow fast. The warmer, the faster, so as spring moves toward summer, you had better have a plan in place to tame your runner beans. Actually, you should have already done this step, but getting a late start isn’t the end of the world. You just make more work for yourself when you put it off.
You don’t have to create a marvel of architectural engineering to make the beans happy. Just give them a post, a stake, a fence or trellis, vine trainers on brick walls – anything the beanstalk can wrap itself around and climb on. Weight support isn’t a crucial concern, but keep in mind that a strong wind can tip everything over on your patio, so you want some support.
One structure that works for ground-planted or container-planted beans is a simple A-frame. Depending on how many bean plants you have, you simply attach leaning bamboo poles or sections of PVC to a single horizontal bar across the top.
Fertilizer
Pretty much, runner beans get all the fertilizer they need from the air, turning atmospheric nitrogen into something it can use for growth. You could skip fertilizing runner beans altogether, but if you’re growing them in a container or grow bag, you probably want to bump up the yield just a bit.
The best thing to rev up the quality of the soil is compost. It’s natural, recyclable, non-chemical, and free. Compost is decomposing organic material in various states. It’s a soil modifier and source of several vital elements. Often, that’s all you need in order to make your runner beans a peak producer.
But compost is for the soil, and fertilizer is for the plant. Experts recommend a light application of 10-10-10 fertilizer for the plant’s needs. 10-10-10 means the fertilizer is 10 parts nitrogen, 10 parts phosphorus and 10 parts potassium. The only time you should be concerned about fertilizer is if the plant is showing signs of depletion. A few heavy rainstorms can cause the fertilizer to leech out of a potted plant, but even that doesn’t mean you need to spring into action right away.
Repeated heavy rains and outward signs that the plant is not as robust as it once was should be your signal to add fertilizer. Remember: less is more, and water the plant thoroughly after you add fertilizer.
Harvesting
Runner beans are ready for harvest when the pods reach eight inches in length and achieve a certain plumpness. Once you start picking the beans, you’ll need to remain diligent in your harvesting, picking pods every two to three days to encourage production. If you get behind, the pods will get long and stringy, and the beans will be tough.
Cooking Runner Beans
- Cut off the ends and remove the strings from the sides.
- Cut into angled slices.
- Cook in boiling salted water for 3-4 minutes or until tender. Smaller, younger beans will take slightly less time.
- Season as desired.
Canning Runner Beans
If you are growing beans in a grow bag, chances are you will need to let your beans stockpile a little bit in order to have enough to justify getting out the canner and jars. After doing the first two steps on the list, put the beans in plastic bags, and store the bags in a refrigerator until you have enough (10 pounds or so).
Quite possibly, your limited space and volume won’t produce enough beans to justify canning them. If that is your situation, simply storing sliced beans in plastic bags in the refrigerator will keep them fresh enough for normal consumption.
The process for canning runner beans is:
- Wash beans.
- Cut off ends and remove strings from sides.
- Cut into angled slices, approximately 2 – 3 inches in length.
- Prep jars according to canning instructions.
- Bring a large pot of water to a boil.
- Pack beans tightly into jars, leaving about 1 inch of headroom.
- Add ½ teaspoon salt to pint jars, a teaspoon to quart jars.
- Ladle boiling water over the beans, leaving 1 inch of headroom.
- Place lids and rings on jars and tighten rings by hand.
- Process in a pressure canner at 10 PSI* for 20 minutes, quarts for 25 minutes.
- Remove jars from canner and place on a countertop for up to 24 hours to cool.
As the jars cool, the metal lids will flex and seal, often with a distinct “ping.”
*The pressure should be adjusted for altitude. Your canner should have a chart to reference.
Freezing Runner Beans
You may find freezing runner beans to be the most viable option for storing them if you can’t eat them quickly enough. You only need a half-pound or so of beans for a freezer batch, and the whole process is much easier than canning.
An unusual aspect of this process is the “open freeze” method, where the beans are frozen outside of a bag or container. This method prevents them sticking together.
The basic method for freezing runner beans is:
- Slice off the ends and pull off the strings.
- Cut into short, angled slices.
- Bring a pan of water to a boil and add the beans.
- Boil for three minutes.
- Drain and transfer the beans to a pan of very cold water.
- Leave the beans in the cold water until they have completely cooled.
- Line a baking sheet or plate with parchment paper and place the blanched beans on the paper.
- Set the freezer (this can be a temporary setting) for its coldest temperature and put the beans in the freezer. Freeze until the beans are completely hard.
- Store the frozen beans in freezer bags or freezer-safe containers. They should keep for up to six months.
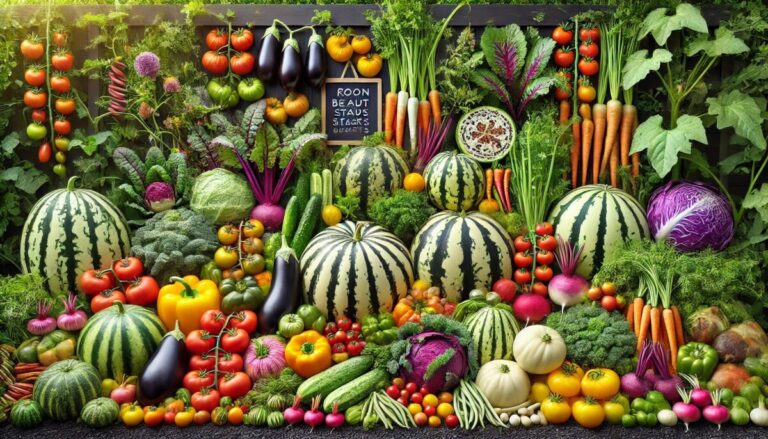
Other Veggies You Can Raise in Grow Bags
Beans aren’t the only thing you can grow in grow bags. Tomatoes, peppers, lettuce, strawberries, cucumbers, squash, onions, celery, and more can be successfully grown in grow bags. Their low cost and ease of use make grow bags a viable option even for commercial operations.
Sources:
https://www.gardenguides.com/115868-grow-runner-beans-grow-bags.html
https://www.growfruitandveg.co.uk/grapevine/new-shoots/runner-beans_28215.html
https://verticalveg.org.uk/magic-beans-growing-runners-in-containers-successfully
https://en.wikipedia.org/wiki/Growbag
https://www.rhs.org.uk/advice/profile?pid=667
https://www.bbcgoodfood.com/howto/guide/how-freeze-runner-beans