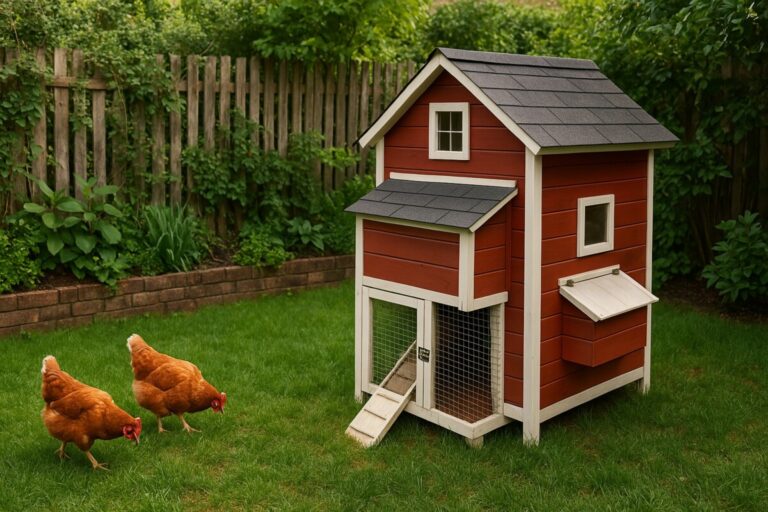
How to Breed Dairy Goats
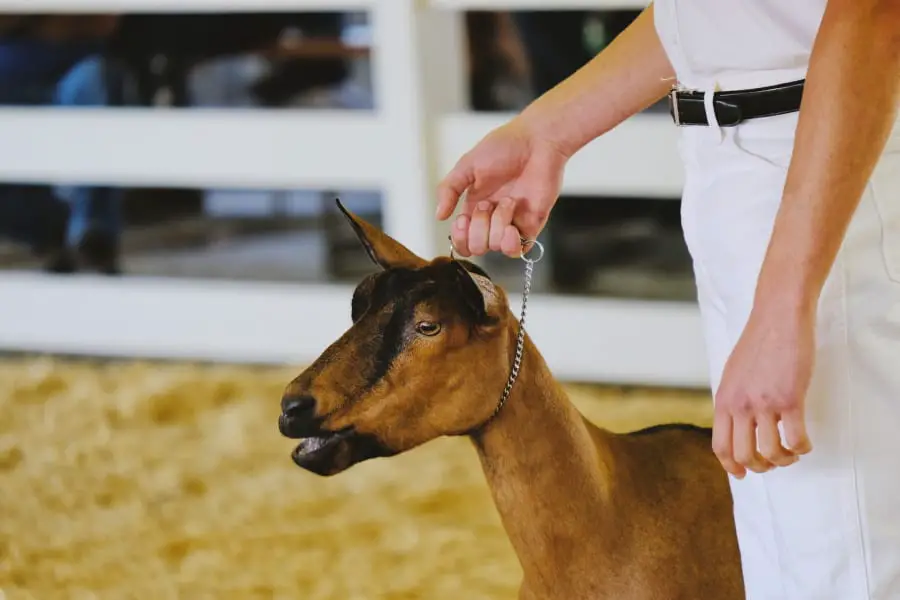
Dairy goats are a great addition to a small farm or homestead. They are easy to work with and have winning personalities. Dairy goats produce plenty of milk for drinking or making cheese, ice cream, and other delicious products. Of course, to get milk, the goats must have kids. To have kids, the goats need to be bred.
How do you breed dairy goats? There are two options for breeding dairy goats: natural service and artificial insemination. Each has advantages and disadvantages, but both will result in goat kids and another year’s worth of milk. Both require some planning and preparation, but each method can be successful.
Natural Service
As the name suggests, natural service is breeding dairy goats the way nature intended. You get your does together with a buck, and nature takes its course. (note: the American Dairy Goat Association uses the term “buck” for male goats and “doe” for females, so that is the terminology we will be using here.) Natural service is the easiest and most reliable way to breed dairy goats, but it does have disadvantages.
Advantages and Disadvantages of Natural Service
The biggest disadvantage of natural service is the buck himself. Buck goats are nasty creatures. Their hormones cause them to stink, and they also urinate on themselves to enhance the aroma. Bucks stink to high heaven, so they really don’t work well in built-up areas or even on small farms. If you want to keep dairy goats on a small farm, you will have to look at other options for natural service.
The biggest advantage of natural service is that it works. The goats know what to do, and it is highly successful at achieving conception (called “settling”). It also tends to be less expensive than artificial insemination because less equipment is needed.
The other disadvantages of natural service when you don’t own a buck are the hassle of taking your doe to a buck and the limited genetics available through natural service. For natural service to work, you need to be ready to haul the doe to a buck on her schedule, not on yours. It can be a headache to get a doe to a buck on a weekday if you need to go to work.
If you must take your doe a long way, the quick trip can be a real headache. You are also limited to the bucks within driving distance, which may or may not be the kind of bucks you want to breed to. If you live in an area without many dairy goats or have a rare breed, transporting does for service can present a significant obstacle.
Finding a Buck
If you want milk but aren’t concerned about adding high-quality does to your herd, any buck will do. You just need to find someone in your area with bucks and arrangements for your girls to visit. The drawback of this method is that the resulting kids won’t be as milky as the mothers. Also, if the buck you breed to isn’t registered with the American Dairy Goat Association (ADGA), you won’t be able to enter the kids in shows.
If your preference is for registered kids, you will have to find a registered buck of the same breed as your does. The breeder of your does is a good place to start looking for a buck. If they don’t have one, chances are that they will know someone who does.
Timing the Breeding
Dairy goats are seasonal breeders. There are two factors that time their breeding: five to six months after kidding and decreasing day length in the autumn. You should arrange breeding in the summer and have everything set up for a rendezvous in the fall. Your doe will kid 150 days after breeding, so schedule the meeting five months before you want kids.
Setting Up a Meeting
Once their cycle starts, does come into estrous every seventeen to twenty-one days. The easiest way to get a doe bred is to take her to the buck and let her stay for a while. Leaving her a month guarantees at least one estrous cycle, while a six-week stay guarantees two. However, leaving a doe for that length of time can be impractical, especially if she is in milk.
If your doe can’t make an extended visit, you can opt for a brief visit only on the days she is receptive. For this tactic to be effective, you need to track her estrous cycle closely. Observe your does twice a day (milking time is great for this). Track her for a couple of cycles to make sure you have the timing down before taking her to the buck.
Heat Detection
Watch your doe for the following signs that she is in heat and receptive:
- Tail flagging – she will wag her tail back and forth quickly
- Different vocalizations – the doe will bleat more often, and in a different tone than she usually does
- Swelling of the vulva
- Mucus discharge from the vulva
- Reduced milk production for a short time (you weigh milk daily, don’t you?)
- Nervous or flighty behavior; more agitated than usual
- Changes in appetite
- May attempt to mount other goats, or allow other goats to mount her
Use a calendar to record the days your doe starts and ends cycling. The cycles can occur as close as every 16 days and as long as 24 days; most will by 19 to 21 days. Each individual cycle lasts from 12 to 72 hours. Each doe is unique, but her cycles will follow a consistent pattern. Identifying the pattern will help you get her to the buck at the best time.
The best time to breed a doe is 24 hours before the end of her cycle. If your doe has cycles that last a day or less, take her to the buck immediately upon seeing signs of estrous. If her estrous normally lasts two days, take her at the start of the second day. A doe with a three-day cycle should go at the beginning of the last day.
Meeting the Buck
Once you have brought your doe to the buck, pen them together. If she is truly in estrous, she will be receptive to his advances and stand to be mated. The mating will be brief, and they should be left together long enough for the buck to mount two or three times. That should be enough to ensure she is bred.
Signs of Pregnancy
If the doe still shows signs of estrous 24 hours after meeting the buck, she is not bred. A repeat session with the buck that day might do the trick. Watch the doe the next time she is due to cycle. If she is bred, she won’t show any signs of estrous. Any signs of estrous mean a repeat trip to see the buck.
Artificial Insemination
The other option for breeding your does is artificial insemination, or AI. This is a breeding process that uses semen from distant bucks shipped to your farm and inserted into the doe using equipment. AI is a great way to breed does without keeping a smelly buck or hauling your does all over creation. It also allows you to breed to the best bucks, even if they aren’t close.
Disadvantages of AI
There are three big disadvantages to AI: it’s expensive, it’s complicated, and it doesn’t always work. The expense of AI comes from the equipment you need to have. The most expensive piece of equipment is a liquid nitrogen tank, which costs $300 to $500 depending on size. You also need some veterinary equipment that we’ll cover later. Semen costs for AI tend to be higher than buck fees for natural service as well.
The process of artificial insemination is much more complicated than natural service. You must time the estrous cycle more precisely, then inseminate the doe with equipment. It isn’t rocket science, but you do have to know what you are doing to get it right.
Finally, conception rates are lower with AI than natural service. The top AI techs can achieve about 90% first-service conception rates, but the rates for beginners tend to be lower. You may need two or even three attempts to settle each doe while you are still learning.
AI Equipment
As we’ve mentioned, you need specialized equipment for artificial insemination. The big thing is a liquid nitrogen tank (view on Amazon) for storing semen until it’s needed. The semen is kept frozen at an incredibly low temperature so that the reproductive cells are alive when you are ready to breed. You will also need:
- Speculum (click to see on Amazon) for insertion into the doe’s vagina to observe her cervix
- Headlamp or flashlight for observing the cervix
- Straw tweezers for handling the semen ampule
- Sterile, non-spermicidal lubricant
- Insemination gun for semen straws (view on Amazon)
- Breeding stand to hold the doe. Your milking stanchion will work fine for this.
- Thaw box for semen straws
- Straw cutter for semen straws
- Thermometer
- Paper towels
- Straws of semen from your chosen buck
Heat Detection
Accurate heat detection is even more important with artificial insemination than natural service. With AI, the most important thing to pay attention to is the appearance of the mucus discharge. Through the course of a cycle, the mucus will change color and texture. The color and texture will show you the right time to breed.
- Early cycle: clear and runny. It’s too early to breed
- Hours 12 to 18: mucus is cloudy and stringy. It’s a little early still.
- Hours 18 to 30: mucus is milky and holds its shape. This is the time to inseminate.
- Hours 30 to 36: mucus is creamy. It’s still good breeding time, but a little late.
- After hour 36: mucus looks like custard. It’s too late to breed.
The hours listed here are approximate; your goat will have her own cycle. Tracking your doe’s cycles is vital for AI. Once you have tracked her through a couple of cycles, you will be able to predict when she is ready to breed and time the insemination just right.
Use a Buck Rag
Some does only show slight signs of estrous when they cycle, especially if they aren’t exposed to a buck. You can use a “buck rag” to help detect heat in these does. Get an old rag, take it to a buck, and rub it all over him. Get it as rank and smelly as you can, then store it in an airtight container like a zip-loc bag. When you take out the rag and let a doe smell it, she will give you much stronger signs of heat.
Insemination Process
If you are tracking carefully, you should know the approximate time you are going to inseminate your doe. You should have most of the preparation work done ahead of time, and everything laid out so that you are ready when the doe is.
Confirm the Timing
When you think the doe is ready, put her on the milking stand and restrain her. Check to see if her mucus discharge is milky. If the discharge is milky, lubricate the speculum and use it and a sheath to see if you can insert the tip of the sheath into the doe’s cervix. If you can’t, wait a little while and try again. If you are unable to insert the sheath into the cervix before her mucus becomes creamy, you’ll have to wait for her next cycle.
Thaw Semen
If you can insert the sheath, it’s time to thaw semen and inseminate the doe. Most semen will be shipped with specific thawing instructions. Use those if it’s available. If you don’t have instructions, follow these guidelines:
- Heat some water to 95° and fill the thaw box
- Place the straw of semen into the thaw box for thirty seconds
- Remove the straw and dry it with a paper towel
- Keep the straw warm and don’t expose the semen to sunlight or water
- Work quickly once the semen is thawed; it has a very short life outside the doe
Inseminate the Doe
Once the semen is thawed, load the straw into the insemination gun and cut off the tip with the straw cutter. Insert the speculum back into the doe. Insert the sheath into the cervix at least ¼ of an inch, but no deeper than 1 ½ inches. Use the insemination gun to deposit the semen into the doe’s cervix. That’s it – the doe has now been inseminated. As with natural service, the doe will cease to show signs of heat quickly if she has settled.
AI has a lower conception rate than natural service, so you need to watch the doe closely for signs of heat the next cycle after inseminating. If she doesn’t show signs of heat, she’s bred. If she does go back into estrous, inseminate again or take her to see a buck.
Estrous Synchronization
If you would like to have more control over the timing of insemination – and of kidding – estrous synchronization is a possibility. Hormone injections are given to the doe that induce estrous on a set schedule. If you have multiple does, you can sync their cycles so that all your AI is done at the same time. This is especially useful if you have someone else come over to inseminate your does.
If you are interested in synchronized estrous, talk to your veterinarian. The hormones needed are available from vets. There are different products available, and each has its own process. You will need to get directions specific to your product.
Choosing a Buck
Artificial insemination lets you choose from a huge selection of bucks found all over the country. Many of the country’s top dairy goat herds were built using artificial insemination. You can make terrific progress with your herd using AI. The trick is to choose the right buck to make the changes you need.
Set Goals
The first step to choosing a buck is to decide what you need. Set goals for your herd and look for a buck that meets your needs. Possible goals for your herd include:
- Increased milk production. Many goats’ production peaks at a gallon a day, and is less than that for much of the lactation. Top milkers can produce twice that, if you have the genetics.
- Improved milk solids. If you are a cheesemaker, you can get more cheese per gallon of milk by breeding for higher levels of protein and butterfat in the milk.
- If you are interested in showing your goats, you can breed to some of the top show lines in the country. Your herd will make quick genetic progress through these breedings.
Understanding Performance Information
Goat pedigrees contain a wealth of information about the performance of the animal and its ancestors, if you know how to read it. Milk production, show success, and objective type evaluation are all available. You can also get predictions of how strongly some of the characteristics will be reproduced. Let’s start by looking at milk.
Milk Production Records
Of course, you won’t be able to see milk production records for a buck. You can see records for his mother, and for any daughters that he has in production. The record will look something like this:
AGE: 3-00 DIM: 270 Milk: 3130 F: 109 P: 116
The translation for that line is:
- AGE 3 years, 0 months at the start of lactation
- DIM Days In Milk, 270 (this is capped at 305 for standard record-keeping, but may actually be shorter or longer).
- Milk 3,130 pounds. Milk is weighed because foam can throw off gallon measurements
- F fat, 109 pounds. That works out to 3.4% – OK but not great
- P protein, 116 pounds. 3.7%, also OK.
Higher fat and protein numbers mean more cheese per pound of milk. Some dairy coops set the pricing by the pounds of solids instead of the total milk amount, as well.
Stars and Plusses
Some does are designated as star milkers, or *M on the pedigree. These does have produced high volumes of milk as part of official herd improvement efforts. A number before the star shows consecutive generations of star milkers; a 3*M doe is the third generation of star milkers. Star bucks (*B) are the sons of star milkers. Plus bucks (+B) have produced daughters that have achieved star milker status.
Show Titles
When a goat wins its breed at three different shows, it earns a “leg” toward a championship title. When a goat has won three legs, it becomes a permanent champion and has CH added to its name on the registration papers. Goats with the CH title have demonstrated success at shows. When a goat is both a star milker and a permanent champion, the title is GCH for grand champion.
Linear Appraisal
Another evaluation of physical characteristics is called linear appraisal. In linear appraisal, objective evaluators examine the goat and generate a score based on specific physical attributes. Linear appraisal scores will tell you the exact characteristics a goat excels in or is deficient in. You can use these scores to identify bucks that will improve those traits in your herd.
The appraisal is broken into three parts for bucks, and four for does. The parts are general appearance, dairy strength, and body capacity. Does are also scored for udder appearance. Each score is generated by measuring several different body parts and combining the numbers. Appraisal scores are given out of 100, with scores in the high eighties or low nineties being outstanding.
Linear appraisal scores are a great way to improve physical type because they don’t vary across the country. It is sometimes possible for a goat to win a championship title against less than stellar competition, but an appraisal score of 90 is the same across the country. You can also use linear appraisal of your does to identify weaknesses and areas to improve.
Other Numbers
Most AI bucks also have a couple of other numbers listed, called PTA and REL. PTA stands for “predicted transmitting abilities,” which is a measure of how strongly the buck will improve a particular trait in his daughters. High PTA numbers for a particular trait mean the buck will give you daughters that show great improvement over their mothers.
REL stands for reliability. This is a measure of how accurate the PTA number is expected to be. A buck with high REL has had lots of daughters measured for a trait, and you will have a good idea of what future daughters will look like. Bucks with low REL often haven’t been used heavily, so we aren’t quite as certain about how future daughters will perform.
Putting It Together
Once you have decided on your goals, look for AI bucks that excel in the traits you desire. Keep in mind that it’s easier to make quick progress in just a few traits than a lot. If you try to improve everything at once, it can take many generations to get where you are going. If you focus on one or two, you can make jumps in just a couple of generations.
Don’t get discouraged if you are starting with goats that are a long way from where you want to be, though. It’s easier to make quick progress when you are starting from a low level. You can jump pretty quickly from glorified lawnmowers to appraisal scores in the low eighties by focusing on the overall numbers. It’s the jump from appraisal scores of 80 to 90 where you need to focus on one trait at a time.
What’s Next?
The two most important aspects of breeding dairy goats are planning and knowing your goats. Whether you are chasing show championships, high milk volumes, or just kids for next year, you need to prepare in advance to get your does bred. You also have to pay attention to your goats to make things work well.
Whether it’s finding a buck for natural service or preparing for artificial insemination, you need to prepare for breeding season in advance. Make a plan, set things up, and get everything ready well before breeding season.
Once breeding season arrives, keep a close watch on your does. This is easy if they are still milking, but it can be tough if the lactation has ended. Even if you aren’t milking a doe, check her twice a day for signs of estrous. Keep good records of when she starts and ends the cycle so that you can predict the best time to breed her.
If you have to haul your doe, make arrangements with your work so that you can haul her on the day she’s ready. If you are doing AI, get your facility set up and semen ordered well in advance of breeding season. The more prep work you can do ahead of time, the easier the breeding will be.
It can seem like a lot of work, but breeding dairy goats is a rewarding pastime. Don’t get discouraged if things don’t work out perfectly. If you get too far down, just think about the reasons you are trying in the first place – you’ll get more delicious milk, and you’ll get the cutest thing in the world – baby goats.